Cython is designed as a C-extension for Python. The developers can use Cython to speed up Python code execution. Performance gains are most significant in CPU-bound programs.

Here is some cpu-intense code in python

# cat compute_it.py 
import datetime
import math


def main():
    t0 = datetime.datetime.now()
    do_math(num=30_000_000)
    dt = datetime.datetime.now() - t0
    print("Done in {:,.2f} sec".format(dt.total_seconds()))


def do_math(start=0, num=10):
	pos = start
	k_sq = 1000 * 1000
	while pos < num:
		pos += 1
		math.sqrt((pos - k_sq) * (pos - k_sq))


if __name__ == '__main__':
    main()

Took 7.39 sec

python compute_it.py 
Done in 7.39 sec

Let’s convert this to cython and run without GIL

Step 1. Write move do_math to cython code

# cat math_core.pyx 

from libc.math cimport sqrt
import cython


def do_math(start:cython.int = 0, num:cython.int = 10):
    pos: cython.int = start
    k_sq: cython.int = 1000 * 1000
    
    with nogil:
        while pos < num:
            pos += 1
            sqrt((pos - k_sq) * (pos - k_sq))
# cat compute_w_cython.py 
import datetime
from math_core import do_math


def main():
    t0 = datetime.datetime.now()
    do_math(num=30_000_000)
    dt = datetime.datetime.now() - t0
    print("Done in {:,.2f} sec".format(dt.total_seconds()))


if __name__ == '__main__':
    main()

Step 2. Create a setup, setup.py

# cat setup.py 
from distutils.core import setup
from Cython.Build import cythonize


setup(ext_modules = cythonize("math_core.pyx"))

Step 3. Compile the cython via setup

$ pip install -U cython
$ python setup.py build_ext --inplace
Compiling math_core.pyx because it changed.
[1/1] Cythonizing math_core.pyx
...
math_core.cpython-36m-x86_64-linux-gnu.so

Step 4. Run the code

$ python compute_w_cython.py 
Done in 0.09 sec

This is quite impressive isn’t it?

Note: it is important that before you convert to cython profile that code and ensure it is bottle-neck and cpu-bound.

Cheers!

If you only need to know who was the last person to change the line, git blame will do

To see who modified the code on line # 85 and next 5 lines

git blame ${path-to-the-file} -L 85,+5

output would look like this

f1f66980053 (Naoko         2019-02-25 17:32:25 -0700 85)                 text = re.sub(r'{([^\n]+?)}', r'{0[\1]}', template["text"])
50ccaf0f3b8 (Naoko         2019-02-16 10:44:54 -0700 86)                 template["text"] = text.format(template_vars)
f373fd241db (Tom Bocklisch 2018-07-10 14:33:18 +0200 87)             except KeyError as e:
f373fd241db (Tom Bocklisch 2018-07-10 14:33:18 +0200 88)                 logger.exception(
390792a0008 (Tom Bocklisch 2018-11-16 12:51:21 +0100 89)                     "Failed to fill utterance template '{}'. "

But often the above information is not good enough.

Since Git 1.8.4, git log has -L to view the evolution of a range of lines.

git log --pretty=short -u -L 85,+5:${path-to-the-file}

The output would look like this

diff --git a/rasa_core/nlg/template.py b/rasa_core/nlg/template.py
--- a/rasa_core/nlg/template.py
+++ b/rasa_core/nlg/template.py
@@ -80,7 +85,5 @@
-                # blacklist characters that probably should not be
-                # part of slot name and replace with old %-formatting
-                text = re.sub(r'{([^\n,]+?)}', r'{0[\1]}', template["text"])
+                text = re.sub(r'{([^\n]+?)}', r'{0[\1]}', template["text"])
                 template["text"] = text.format(template_vars)
             except KeyError as e:
                 logger.exception(
                     "Failed to fill utterance template '{}'. "

commit 50ccaf0f3b86c65bfcd857ebf4c64f64b9b7c4a0
Author: Naoko

    Resolve #1720
    Handles slot name contains character that is invalid as python variable name (e.g. dot) in template

Cheers!

Forking a Github Repository

Just click “fork” button on upper right corner

black tea

Making a Local Clone

$ git clone https://github.com/YOUR_USERNAME/YOUR_FORK.git

Adding a Remote

# list current configured remote repository for your fork
$ git remote -v

# add upstream
$ git remote add upstream https://github.com/ORIGINAL_OWNER/ORIGINAL_REPOSITORY.git

# list again to see upstream is added
$ git remote -v
origin    https://github.com/YOUR_USERNAME/YOUR_FORK.git (fetch)	
origin    https://github.com/YOUR_USERNAME/YOUR_FORK.git (push)
upstream  https://github.com/ORIGINAL_OWNER/ORIGINAL_REPOSITORY.git (fetch)
upstream  https://github.com/ORIGINAL_OWNER/ORIGINAL_REPOSITORY.git (push)

Working in a Branch

Create and checkout a feature branch. Personally, I like to set github issue number followed by summary of issue. This notation GH-${issue_num} will create a link to the issue on github.

$ issue_num=100
$ git checkout -b GH-${issue_num}_summary_of_issue

When ready, commit and push changes to GitHub.

$ git push origin GH-${issue_num}_summary_of_issue

Keeping Your Fork in Sync

$ git pull upstream master
$ git push origin master

Cheers!

準備するもの

  • スコビー(SCOBY - symbiotic culture of bacteria and yeast)
    • スコビーはどこで手に入れる?
      - 自分で作ることもできるけどお友達にもらったりとかアマゾンでもかえるよ。
    • スコビーはスターター紅茶(コンブチャ)と一緒に運ばれてきます。
  • 黒紅茶の茶葉 - ティーバックでもいいけどルースティーリーフのほうがお得なはず。
    <figcaption>black tea</figcaption>
  • 砂糖(グラニュー糖があ勧め)
  • 広口のガラス瓶 (熱湯消毒してね)
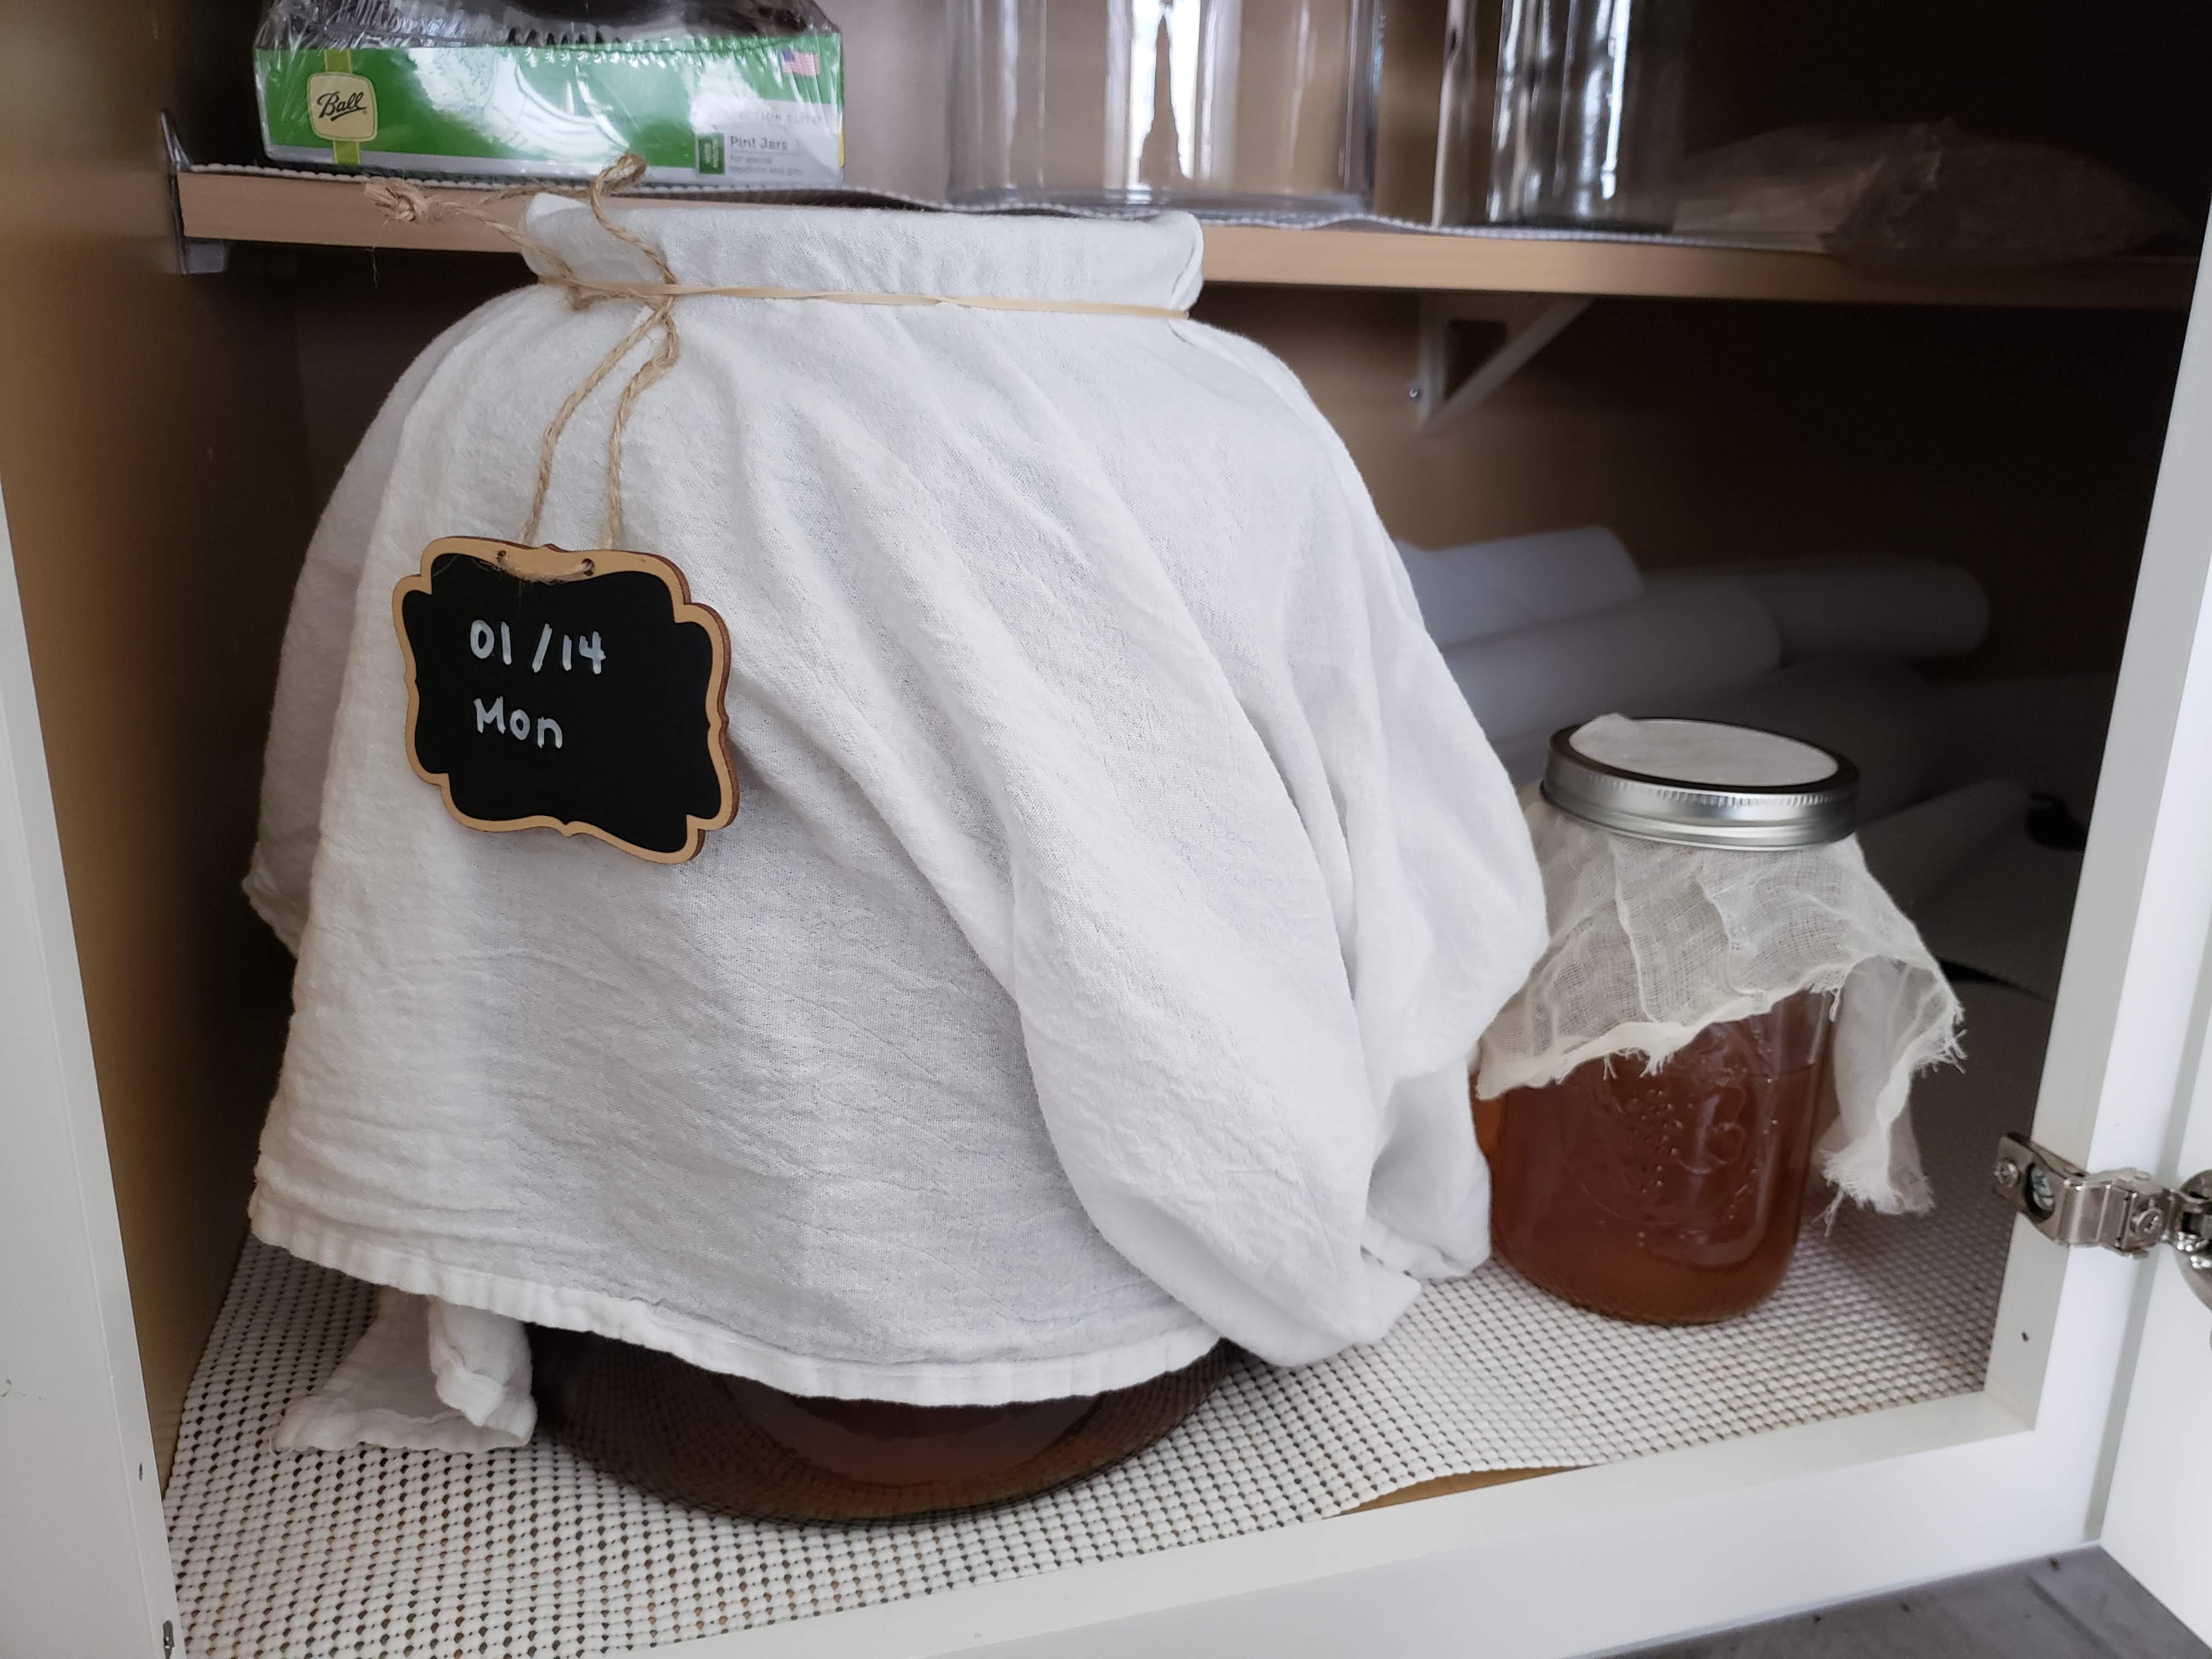
    • 私が使ってるのは 2.5 gallon (9.5 litter) と大きいけど 1 gallon (3.7 litter) サイズから始めるはよいスタートかとおもいます。ちなみに右の瓶はおよそ1リットルで 左側のがおよそ9.5リットルです。
      Kombucha jars
  • キッチンクロスまたはキッチンペーパー
  • キッチンクロスを留めるゴムまたは紐
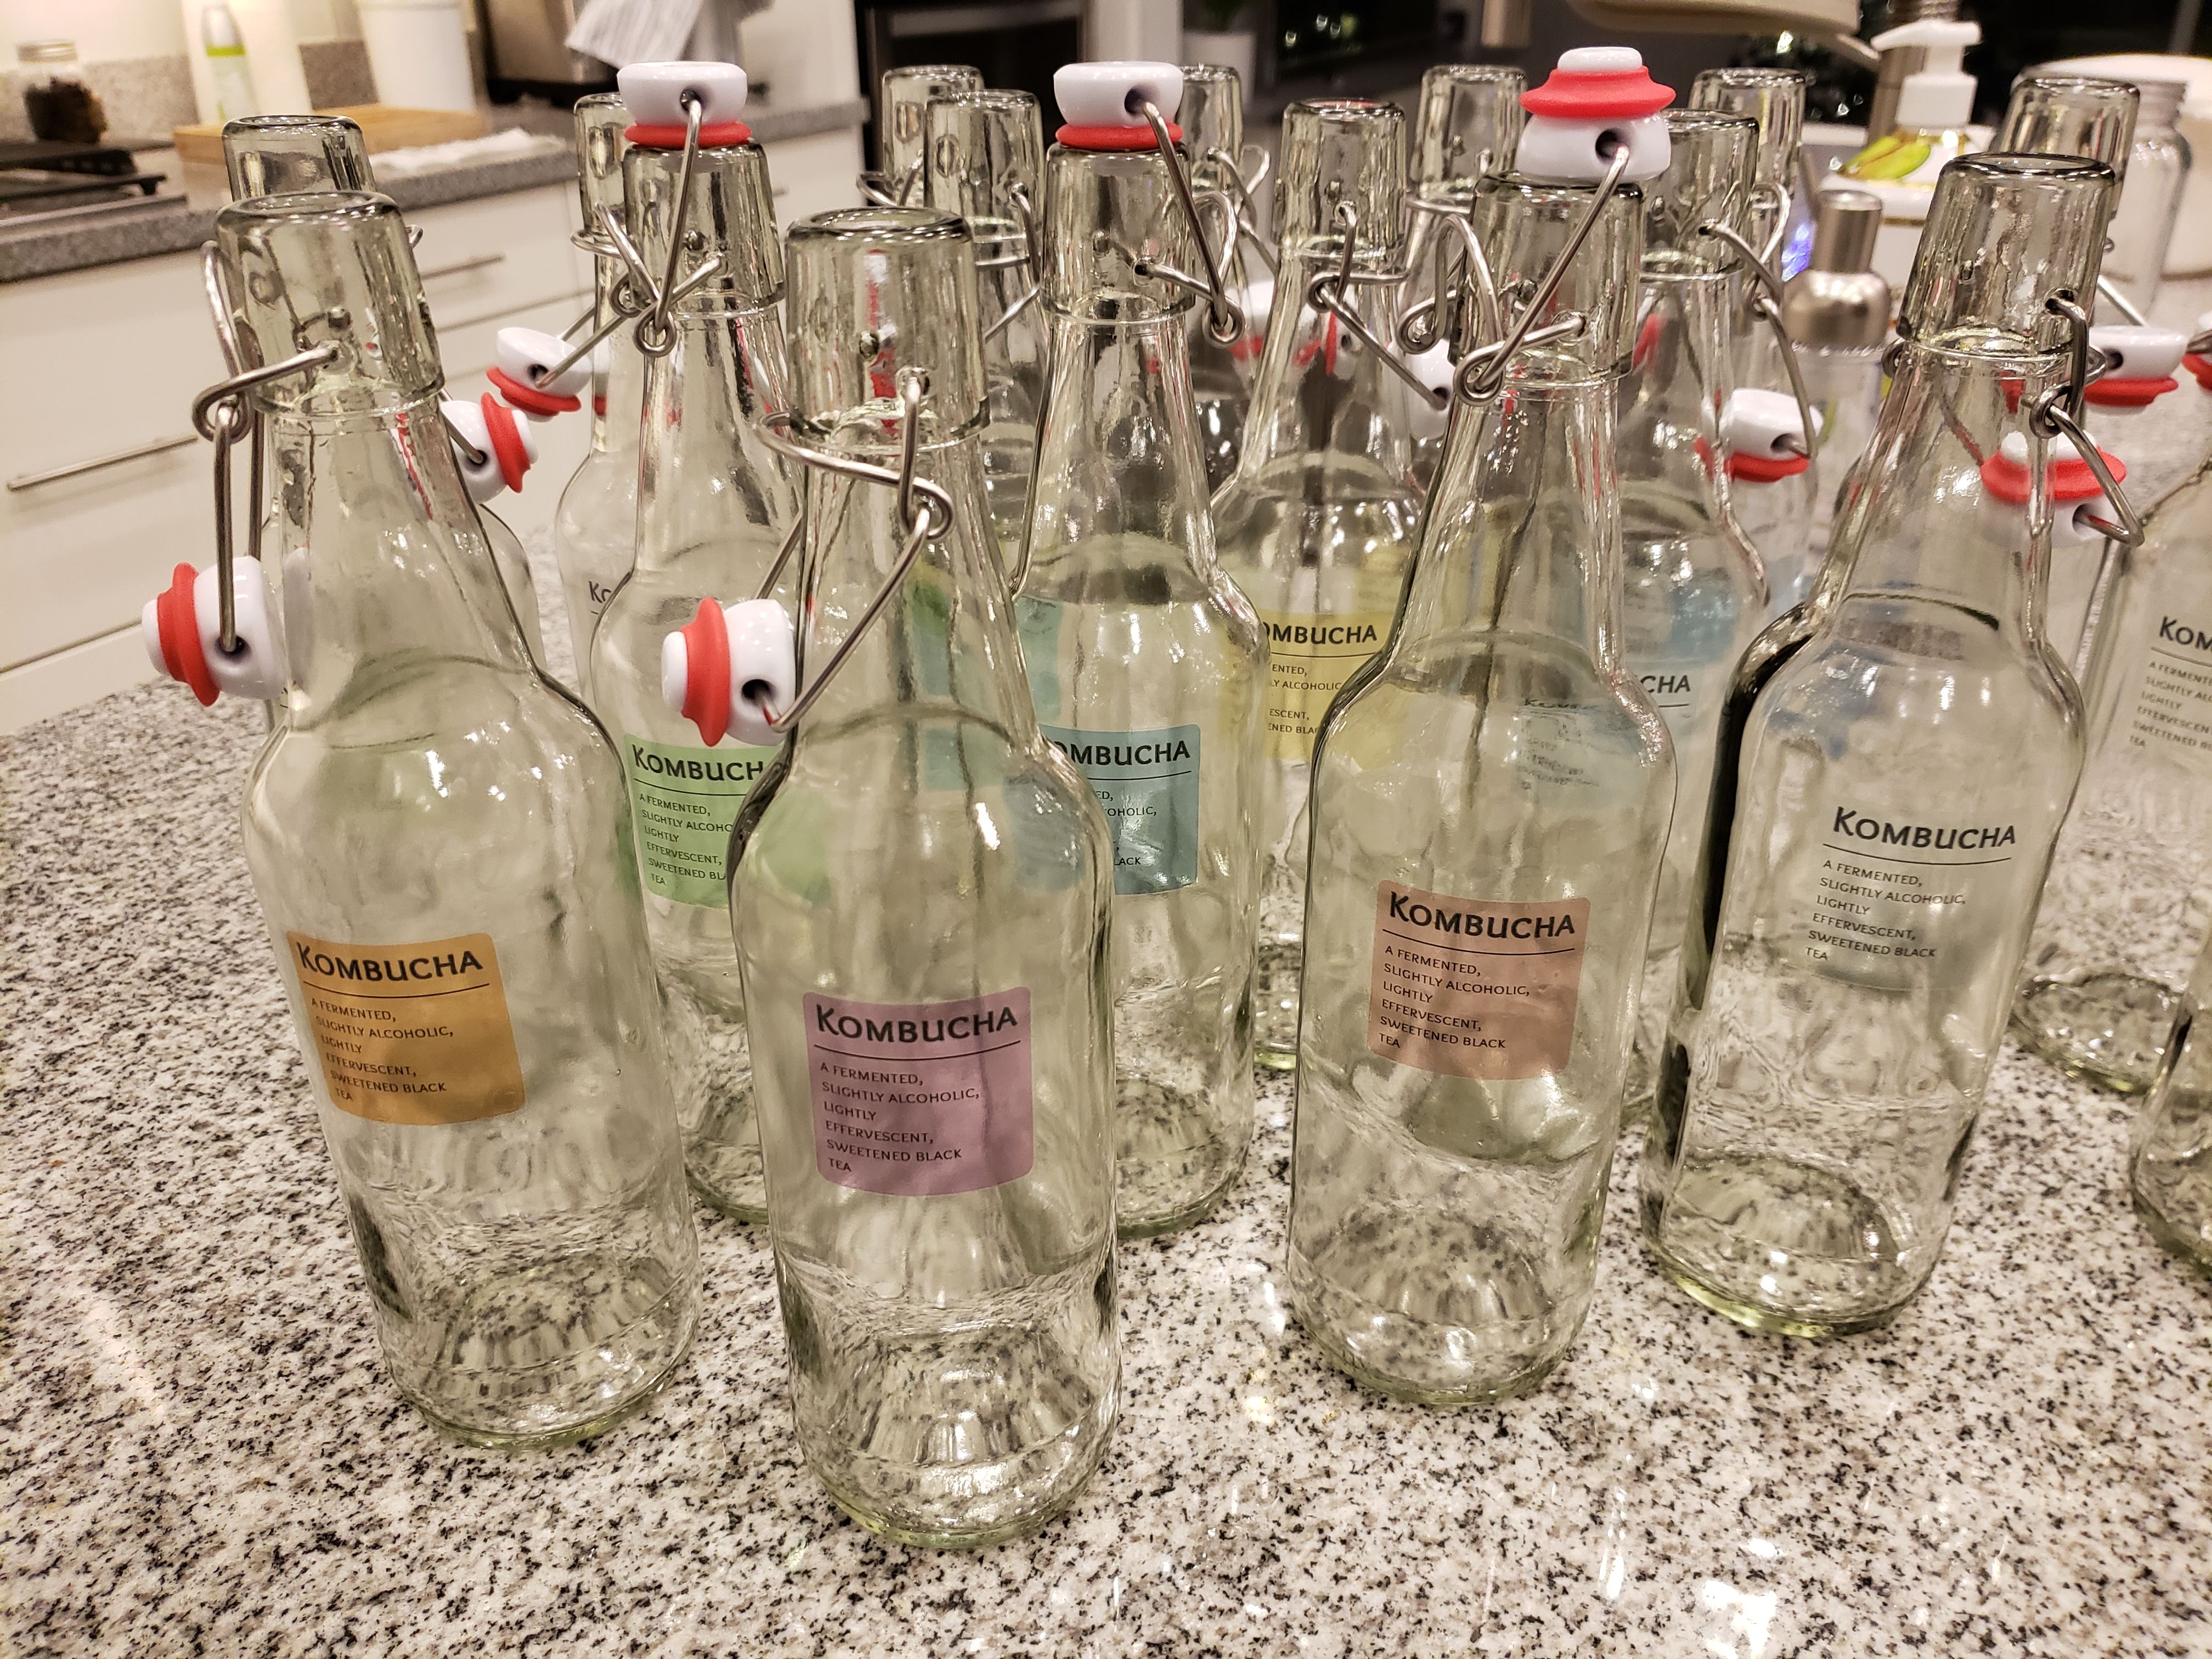
  • 2次発行用のエアタイトボトルもしくは瓶
    • 私はこんなボトルを使ってます。

      Kombucha bottles

分量

瓶のサイズ: 1 little or 34 oz

  • 紅茶: 2 tea bags or 1.5 tsp loos tea
  • 砂糖: 1/4 cup
  • 水: 3 1/4 cups
  • スターター紅茶: 1/4 cup

瓶のサイズ: Half gallon

  • 紅茶: 4 tea bags or 1 tbsp loos tea
  • 砂糖: 1/2 cup
  • 水: ~7 cups
  • スターター紅茶: 1 cups

瓶のサイズ: 3.7 little or 1 gallon

  • 紅茶: 8 tea bags or 2 tbsp loos tea
  • 砂糖: 1 cup
  • 水: ~14 cups
  • スターター紅茶: 2 cups

作り方

一次発酵

  1. お湯を沸かしてお砂糖をとかす。紅茶をいれてさませます。
  2. 紅茶の葉を取り、スターター紅茶、お水をいれてスコビーを入れます。
  3. スコビーが呼吸できるようにキッチンクロスなど通気性のあるもので蓋をしゴムでとめます。 瓶を適温の環境におき、あす。直射日光はさけてください。できれば発酵中はあまり動かさないでください。発酵がおそくなります。 適温は 26-29 C もしくは 78-85 F です。それ以下でも大丈夫ですが発酵がゆっっくりになります。 それ以上だと発酵が早まります。たいせつなのは安定した温度環境にあることです。
  4. 七日たったら味を見てみてください。酸味と甘みのバランスが自分のお好みになったらできあがりです。寒いと14日くらいかかることもあります。  毎回新しいスコビー(ベイビースコビー)が上の層にできてきます。
baby scoby
  1. 次に二次発酵ボトリングにはいるのですが次のバッチのためにコンブチャ   (スターター紅茶)を残しておいてください。

二次発酵

  1. 二次発酵は味付けと炭酸つくりです。エアタイトボトルにコンブチャをいれて好きなフルーツやジュースであじをつけます。  私はレモンとジンジャーの欠片を入れたものがお気に入り。ミントとライムもよかったです。

    Kombucha bottling
    Kombucha bottling
    Kombucha bottling
  2. このときお砂糖少し入れてください。炭酸化を活動をしょうかんします。ソーダみたいになるよ。
  3. 3日か4日後くらいにはふるーつから味もでてシュワシュワな飲み物がかんせいです。   発行を止めるためにこの時点で冷蔵庫にいれましょう。発行中に育ったバクテリアとイースト菌をフィルターして飲んだほうが快適かとおもわれます。
    After 2nd farmentation
    Filter bucha

Cheers!

Check the latest version here At the time of writing, 3.8.0 is the latest and 3.8.5 has release candidate.

Also make sure you have sqlite3, libbz2-dev and libffi-dev are installed

sudo apt-get install libsqlite3-dev libbz2-dev libffi-dev
version=3.8.5
wget https://www.python.org/ftp/python/${version}/Python-${version}.tgz
tar xzvf Python-${version}.tgz
cd Python-${version}
# Linux (or any Unix-like system), the default prefix and exec-prefix are /usr/local.
# thus you should be able to omit --prefix here
# --enable-optimizations option for significant speed boost (10-20%) but much
# slower build process
./configure --prefix /usr/local --enable-optimizations
make
sudo make install
# OR if you want to skip creating the python link then:
sudo make altinstall

in case you want to remove and re-install it again cause some software was missing before installation

rm -f /usr/local/bin/python${version}
rm -rf /usr/local/lib/python${version}

Cheers!